Cider fermenters play a vital role in transforming fresh apple juice into a flavorful, handcrafted beverage. They provide a controlled environment that simplifies the fermentation process, ensuring consistent results for your diy cider. With the right tools, you can turn home brewing into a rewarding hobby. Crafting cider at home allows you to experiment with flavors and create a drink that reflects your personal taste. The joy of watching your cider evolve and sharing it with friends makes the experience truly fulfilling.
Essential Equipment and Ingredients for Cider Fermentation
Creating high-quality cider at home requires the right tools and ingredients. By carefully selecting your equipment and materials, you can ensure a smooth fermentation process and achieve exceptional results.
Choosing the Right Cider Fermenter
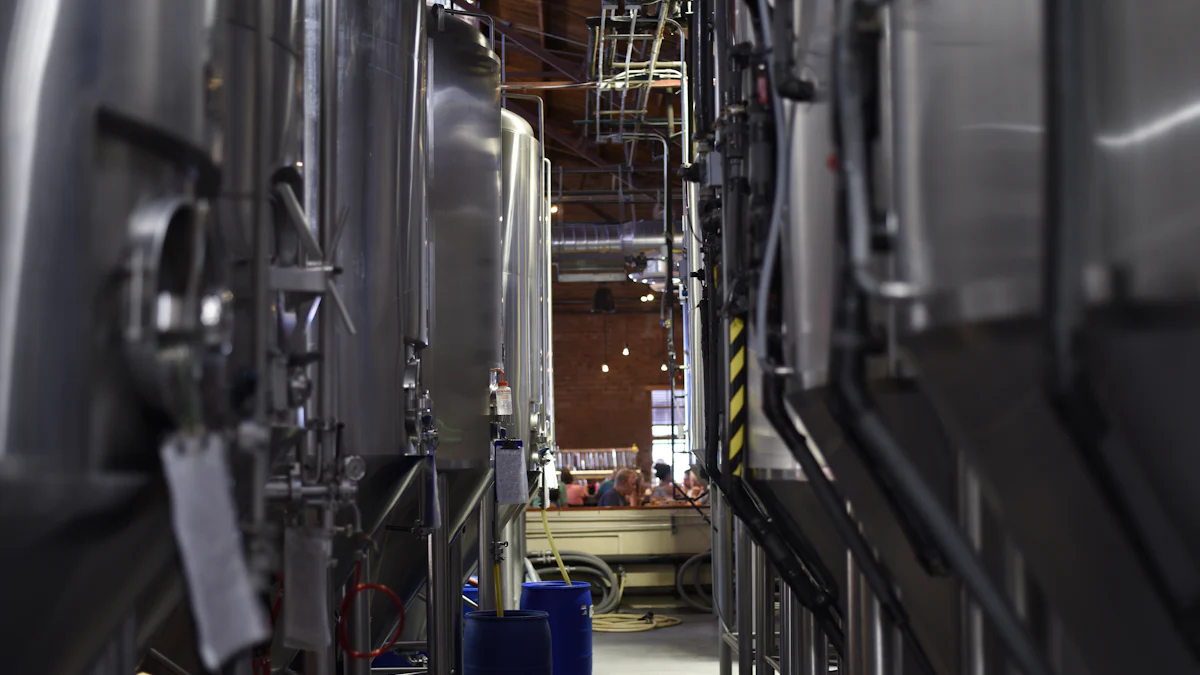
The fermenter serves as the foundation of your cider-making process. Selecting the right one is crucial for maintaining quality and consistency.
Types of fermenters: plastic, glass, and stainless steel
Fermenters come in various materials, each with unique benefits:
- Plastic fermenters are lightweight and affordable, making them ideal for beginners. However, they can scratch easily, which may lead to contamination.
- Glass fermenters provide excellent visibility, allowing you to monitor the fermentation process. They are non-porous but fragile and heavy.
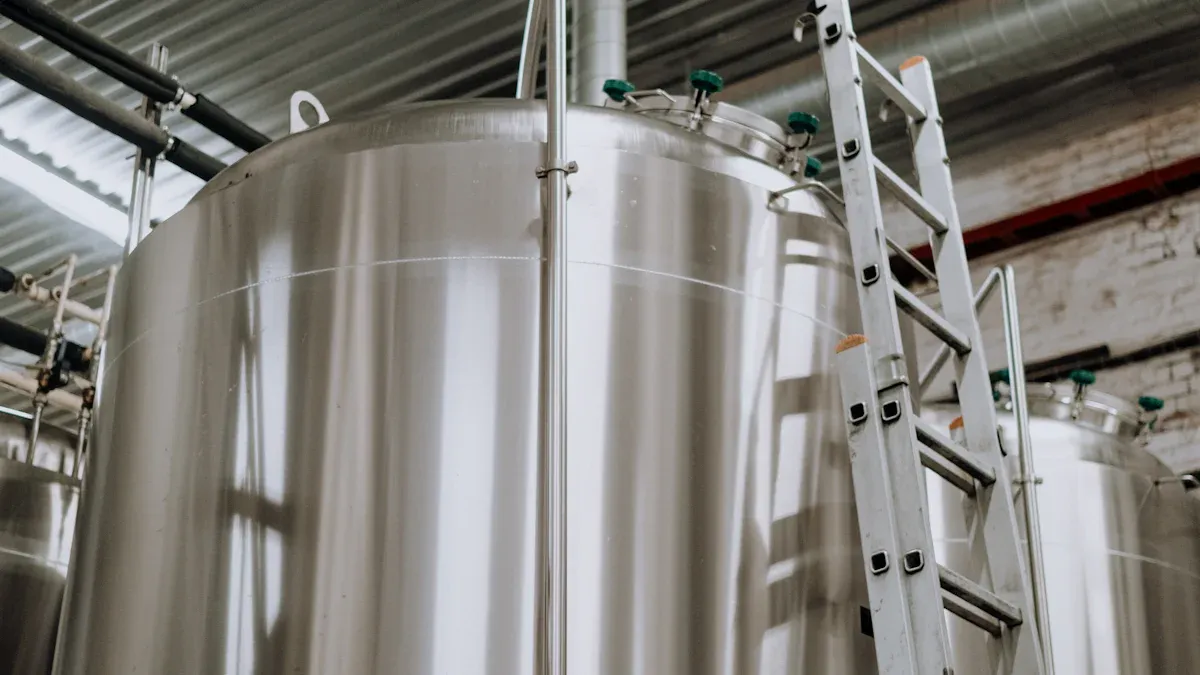
- Stainless steel fermenters offer unmatched durability and ease of cleaning. They resist scratches and maintain a sterile environment, ensuring your cider remains uncontaminated.
Key features: airlocks, size, and material
When choosing a fermenter, focus on these essential features:
- Airlocks prevent contamination by allowing gases to escape while keeping oxygen and bacteria out.
- Size matters based on your batch volume. A 5-gallon fermenter is common for home brewing, but larger sizes are available for bigger batches.
- Material impacts the cider’s flavor and the fermenter’s longevity. Stainless steel is often preferred for its reliability and ease of use.
Benefits of stainless steel fermenters from Chenma
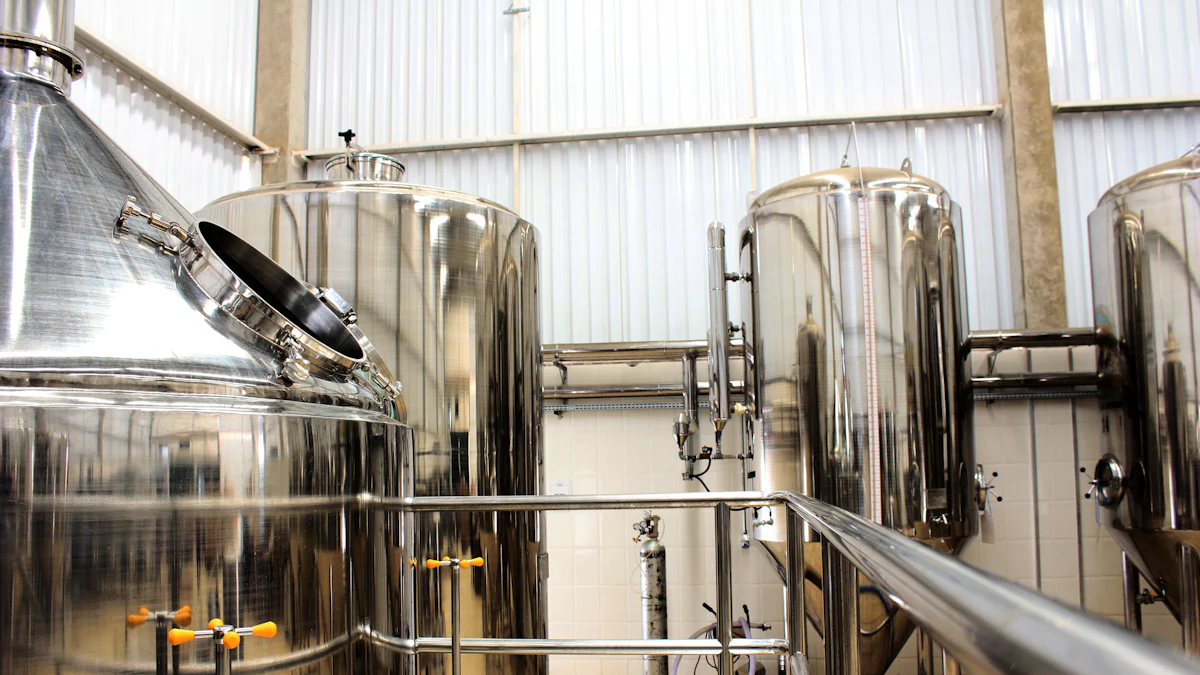
Stainless steel fermenters, like those from Chenma, elevate your brewing experience. These fermenters provide precise temperature control, which is vital for consistent fermentation. Their conical design allows yeast to settle at the bottom, making it easier to separate and transfer clear cider. Additionally, their durability ensures long-term use, making them a worthwhile investment for serious brewers.
Must-Have Brewing Tools
Equipping yourself with the right tools simplifies the cider-making process and ensures better results.
Hydrometer for measuring sugar levels
A hydrometer measures the sugar content in your cider, helping you track fermentation progress. By monitoring sugar levels, you can determine when fermentation is complete and estimate the alcohol content.
Sanitizing equipment to prevent contamination
Sanitization is critical in home brewing. Use sanitizing solutions or equipment to clean all tools and surfaces that come into contact with your cider. This step prevents spoilage and ensures a safe, high-quality product.
Siphoning tools for transferring cider
Siphoning tools help you transfer cider between containers without disturbing sediment. This ensures a clear final product and reduces the risk of contamination during the transfer process.
Selecting Ingredients for Home Brewing
The quality of your cider depends heavily on the ingredients you choose. Fresh, high-quality components lead to better flavor and aroma.
Fresh apple juice or cider (without preservatives)
Start with fresh apple juice or cider that contains no preservatives. Preservatives can inhibit fermentation by killing the yeast. Look for juice labeled as “100% pure” or press your own apples for the freshest option.
Yeast varieties for cider fermentation
Yeast plays a key role in converting sugar into alcohol. Choose a yeast strain specifically designed for cider fermentation. Options include champagne yeast for a dry finish or ale yeast for a sweeter profile.
Optional additives: sugar, spices, or fruit
Enhance your cider’s flavor by experimenting with additives:
- Sugar increases the alcohol content and sweetness.
- Spices like cinnamon or cloves add warmth and complexity.
- Fruits such as berries or pears create unique blends and flavors.
By combining the right equipment and ingredients, you set the stage for a successful cider fermentation process. With attention to detail and a bit of creativity, you can craft a cider that reflects your personal taste.
Preparing Your Cider Fermenter for Home Brewing
Proper preparation of your cider fermenter is essential for a successful brewing process. By ensuring cleanliness, activating yeast correctly, and combining ingredients with care, you set the foundation for a flavorful and high-quality cider.
Cleaning and Sanitizing the Fermenter
Importance of sanitization to avoid spoilage
Sanitization is a critical step in cider fermentation. Any contamination can lead to spoilage, ruining your batch. Microorganisms like bacteria or wild yeast can interfere with the fermentation process, producing off-flavors or even making the cider unsafe to consume. A clean fermenter ensures that only the selected yeast thrives, allowing you to achieve the desired flavor and quality.
Scientific Research Findings: Studies emphasize that proper cleaning and sanitization are vital in fermentation to maintain the integrity of the cider and prevent microbial contamination.
Step-by-step cleaning process
Follow these steps to clean and sanitize your fermenter effectively:
- Rinse the fermenter with warm water to remove any visible debris or residue.
- Wash thoroughly using a non-abrasive sponge and a mild detergent. Avoid using harsh chemicals that may leave residues.
- Rinse again to ensure no soap remains, as it can affect the fermentation process.
- Sanitize the fermenter by applying a food-grade sanitizing solution. Let it sit for the recommended time to kill any remaining microorganisms.
- Air-dry the fermenter or use a clean towel to dry it completely before use.
By following these steps, you create a sterile environment that promotes healthy fermentation.
Activating the Yeast for Cider Fermentation
How to rehydrate or prepare yeast
Yeast activation is a crucial step in cider-making. Properly prepared yeast ensures a consistent and efficient fermentation process. To activate yeast:
- Measure the required amount of yeast based on your cider volume.
- Dissolve the yeast in warm water (around 95°F) to rehydrate it. Stir gently to avoid clumping.
- Allow the yeast to sit for 10-15 minutes until it forms a creamy layer, indicating it is ready for use.
This process ensures the yeast is active and capable of converting sugars into alcohol effectively.
Tips for choosing the right yeast strain
The yeast strain you select significantly impacts the flavor and character of your cider. For a crisp and complex cider, consider using Saccharomyces cerevisiae, a popular choice among brewers. Champagne yeast works well for a dry finish, while ale yeast provides a sweeter profile. Always choose a strain specifically designed for cider fermentation to achieve the best results.
Scientific Research Findings: Research highlights that yeast selection influences the complexity and crispness of the final product, making it a key factor in cider-making.
Combining Ingredients in the Fermenter
Adding apple juice and optional sugar
Start by pouring fresh apple juice into the sanitized fermenter. Ensure the juice contains no preservatives, as these can inhibit yeast activity. If you wish to increase the alcohol content or sweetness, dissolve sugar in a small amount of warm juice before adding it to the fermenter. This step allows the sugar to integrate smoothly.
Mixing and sealing the fermenter with an airlock
Once the juice and sugar are in the fermenter, stir gently to mix the ingredients evenly. Add the activated yeast, ensuring it spreads throughout the liquid. Seal the fermenter with an airlock to create a controlled environment. The airlock allows carbon dioxide to escape while preventing oxygen and contaminants from entering, which is essential for a successful fermentation process.
By carefully preparing your fermenter, activating the yeast, and combining ingredients, you set the stage for a smooth and rewarding cider fermentation journey.
Managing the Cider Fermentation Process
The fermentation process is the heart of cider-making. By carefully monitoring progress, controlling temperature, and managing gas release, you can ensure your cider develops the desired flavors and quality.
Monitoring Fermentation Progress
Keeping an eye on fermentation activity helps you understand how well the process is progressing. Observing specific signs and using tools ensures you stay on track.
Signs of active fermentation: bubbling, foam
Active fermentation produces visible signs that indicate the yeast is working. Look for bubbles rising through the liquid or foam forming on the surface. These signs show that the yeast is converting sugars into alcohol and releasing carbon dioxide. If these signs slow down or stop prematurely, it may signal an issue with the fermentation process.
Tip: Check the airlock for bubbling. Consistent bubbling means the fermentation is active, while a sudden stop might require troubleshooting.
Using a hydrometer to track sugar conversion
A hydrometer is an essential tool for monitoring fermentation. It measures the specific gravity of your cider, which reflects the sugar content. Start by taking an initial reading before fermentation begins. As the yeast consumes sugar, the specific gravity decreases. Regular readings help you track progress and determine when fermentation is complete.
How to Use a Hydrometer:
- Sanitize the hydrometer and testing jar.
- Fill the jar with cider and insert the hydrometer.
- Record the reading and compare it to previous measurements.
This method ensures accuracy and helps you achieve the desired alcohol content.
Controlling Fermentation Temperature
Temperature plays a critical role in cider fermentation. Maintaining the right range ensures smooth fermentation and enhances flavor development.
Ideal temperature range for cider fermentation
Cider fermenters work best within specific temperature ranges. For optimal results, keep the temperature between 50°F and 80°F. However, fermenting at cooler temperatures, around 59°F (15°C), helps retain fruity flavors and prevents undesirable tastes like “pear drops.” Avoid temperatures above 70°F (21°C), as they can lead to off-flavors and hinder yeast performance.
Did You Know? Yeast strains often come with recommended temperature ranges. Following these guidelines ensures consistent fermentation and better flavor profiles.
Tips for maintaining consistent temperature
Fluctuations in temperature can disrupt fermentation. To maintain stability:
- Place the fermenter in a cool, dark location, such as a basement or insulated room.
- Use a fermentation jacket or wrap to regulate temperature.
- Monitor the environment with a thermometer and adjust as needed.
These steps help create a controlled environment, allowing the yeast to work efficiently.
Releasing CO2 Safely During Fermentation
As yeast ferments the cider, it produces carbon dioxide (CO2). Properly managing gas release prevents pressure buildup and ensures safety.
Role of the airlock in releasing gas
The airlock is a small but vital component of cider fermenters. It allows CO2 to escape while keeping oxygen and contaminants out. This one-way valve maintains a sealed environment, protecting your cider from spoilage. Without an airlock, pressure could build up, potentially damaging the fermenter or affecting the cider’s quality.
Pro Tip: Always ensure the airlock is securely attached and filled with sanitized water or solution to function effectively.
How to check and maintain the airlock
Regularly inspect the airlock during fermentation. Look for bubbling, which indicates active gas release. If bubbling stops unexpectedly, check for blockages or leaks. Clean the airlock if necessary and reattach it securely. Keeping the airlock in good condition ensures a smooth fermentation process.
By monitoring progress, controlling temperature, and managing CO2 release, you can master the fermentation process. These steps help you create a cider that is flavorful, balanced, and enjoyable.
Bottling and Carbonating Your Cider
Bottling and carbonating your cider marks the final stage of your home brewing journey. This step transforms your hard cider into a sparkling beverage ready for enjoyment. By preparing bottles properly, adding priming sugar accurately, and sealing them with care, you ensure a consistent and satisfying result.
Preparing for Bottling
Proper preparation is essential to maintain the quality of your cider during bottling. Cleanliness and careful handling prevent contamination and preserve the clarity of your drink.
Cleaning and sanitizing bottles
Clean bottles are non-negotiable when bottling cider. Any residue or bacteria can spoil your hard cider or alter its flavor. Follow these steps to ensure your bottles are ready:
- Rinse each bottle thoroughly with warm water to remove visible debris.
- Wash the bottles using a bottle brush and mild detergent. Avoid abrasive tools that could scratch the interior.
- Rinse again to eliminate soap residue.
- Sanitize the bottles with a food-grade sanitizing solution. Let them sit for the recommended time to kill any microorganisms.
- Allow the bottles to air-dry upside down on a clean rack.
Pro Tip: Use a bottle tree to dry multiple bottles efficiently while keeping them sterile.
Using a siphon to transfer cider without sediment
A siphon ensures you transfer cider smoothly while leaving sediment behind. Sediment, which includes yeast and other particles, can cloud your cider or affect its taste. To use a siphon:
- Place the fermenter on a raised surface and the sanitized bottles below it.
- Insert the siphon tube into the fermenter, keeping it above the sediment layer.
- Start the siphoning process, allowing the cider to flow gently into each bottle.
This method keeps your cider clear and minimizes the risk of disturbing the settled sediment.
Adding Priming Sugar for Carbonation
Priming sugar is the secret to achieving that delightful fizz in your cider. When added before bottling, it kickstarts a secondary fermentation process that produces carbonation.
Purpose of priming sugar
Priming sugar feeds the remaining yeast in your cider, creating carbon dioxide (CO2) as a byproduct. This CO2 dissolves into the liquid, giving your cider its sparkling quality. Without priming sugar, your cider would remain flat.
Did You Know? Brewer’s Friend offers an online priming sugar calculator to help you determine the exact amount needed for your batch.
Calculating the right amount of sugar
Adding the correct amount of sugar is crucial for consistent carbonation. Too little sugar results in under-carbonated cider, while too much can cause bottles to over-pressurize and potentially burst. To calculate the right amount:
- Measure the total volume of your cider.
- Use a priming sugar calculator to determine the precise quantity based on your desired carbonation level.
- Dissolve the sugar in a small amount of warm water to create a syrup. This ensures even distribution when added to the cider.
Recommended Sugar: Dextrose (corn sugar) dissolves quickly and distributes evenly, making it ideal for priming.
Sealing and Storing Bottles
Once your cider is primed, sealing and storing the bottles correctly ensures carbonation develops and flavors mature.
Properly capping bottles
Capping bottles securely prevents CO2 from escaping and protects your cider from external contaminants. Use a bottle capper to seal each bottle tightly. Ensure the caps fit snugly to maintain a proper seal.
Tip: Test the caps by gently pressing down after sealing. A firm, immovable cap indicates a secure fit.
Storing bottles for carbonation and aging
Store the sealed bottles in a cool, dark place to allow carbonation to develop. The ideal temperature for this process is between 65°F and 75°F. Let the bottles sit for at least two weeks to achieve proper carbonation. For enhanced flavor, consider aging your cider for an additional month or more.
Storage Advice:
- Keep bottles upright to minimize contact between the cider and the cap.
- Avoid exposing bottles to direct sunlight or fluctuating temperatures.
By following these steps, you’ll produce a sparkling hard cider with balanced carbonation and refined flavors. Bottling and carbonating may seem meticulous, but the effort pays off when you pour your first glass of crisp, effervescent cider.
Tips for Success in Home Brewing
Mastering the art of home brewing requires attention to detail and a willingness to learn from experience. By avoiding common pitfalls, enhancing flavors, and addressing fermentation challenges, you can create a hard cider that stands out.
Avoiding Common Mistakes
Mistakes during the brewing process can compromise the quality of your cider. Understanding these errors helps you prevent them and ensures a smoother brewing experience.
Over-sanitizing or under-sanitizing equipment
Sanitization is essential, but balance is key. Over-sanitizing can leave chemical residues that affect the cider’s taste. Under-sanitizing, on the other hand, allows bacteria or wild yeast to contaminate your batch. To avoid these issues:
- Use food-grade sanitizers and follow the recommended dilution ratios.
- Rinse thoroughly with clean water after sanitizing to remove any residue.
- Inspect your equipment for cleanliness before starting the process.
Expert Tip: According to a brew master, “Proper sanitization is the foundation of successful fermentation. It ensures the yeast thrives without competition from unwanted microorganisms.”
Using the wrong type of yeast or juice
The yeast and juice you select directly impact the flavor and quality of your cider. Using yeast not suited for cider fermentation can result in off-flavors or incomplete fermentation. Similarly, juice with preservatives can inhibit yeast activity. To ensure success:
- Choose yeast strains specifically designed for cider, such as champagne or ale yeast.
- Opt for fresh apple juice labeled “100% pure” and free of preservatives.
- Experiment with different yeast varieties to discover your preferred flavor profile.
Enhancing Flavor in Cider Fermentation
Creating a cider that reflects your personal taste involves experimenting with ingredients and adjusting sweetness levels. These steps allow you to craft a unique and enjoyable beverage.
Experimenting with spices, fruits, or blends
Adding spices, fruits, or blends introduces complexity and depth to your cider. Popular options include:
- Spices: Cinnamon, cloves, or nutmeg add warmth and richness.
- Fruits: Berries, pears, or cherries create unique flavor combinations.
- Blends: Mixing apple varieties enhances the cider’s aroma and taste.
Pro Tip: Start with small quantities of additives and adjust based on your preferences. This approach helps you avoid overpowering the cider’s natural apple flavor.
Adjusting sweetness levels before bottling
Sweetness plays a significant role in the overall taste of your cider. Before bottling, you can adjust the sweetness to suit your palate. To do this:
- Taste the cider after fermentation to assess its natural sweetness.
- Dissolve sugar or honey in a small amount of warm cider and mix it back into the batch.
- Use a hydrometer to measure the specific gravity and ensure the sweetness aligns with your desired profile.
Did You Know? Adjusting sweetness before bottling allows you to control the balance between tartness and sweetness, creating a more refined hard cider.
Troubleshooting Fermentation Issues
Even with careful preparation, fermentation challenges can arise. Knowing how to address these problems ensures your cider remains on track.
What to do if fermentation is too slow or stops
Fermentation may slow down or stop due to factors like temperature fluctuations or insufficient yeast activity. To resolve this:
- Check the temperature and ensure it stays within the yeast’s recommended range (typically 50°F to 80°F).
- Stir the cider gently to redistribute the yeast and encourage activity.
- Add a small amount of yeast nutrient to provide essential minerals and vitamins.
Brew Master Insight: “Fermentation stalls often occur when yeast lacks the nutrients it needs. Providing a nutrient boost can revive the process and ensure a successful batch.”
Identifying and fixing off-flavors
Off-flavors in cider can result from contamination, improper yeast selection, or temperature issues. Common off-flavors include:
- Sulfuric notes: Often caused by stressed yeast. Aerate the cider or allow it to age longer to dissipate the smell.
- Acidic or vinegar-like taste: Indicates bacterial contamination. Ensure strict sanitization practices to prevent this in future batches.
- Overly bitter or harsh flavors: May result from fermenting at high temperatures. Maintain a stable and cool environment during fermentation.
Quick Fix: Aging the cider for a few weeks can help mellow out minor off-flavors, improving the overall taste.
By avoiding mistakes, experimenting with flavors, and addressing fermentation challenges, you can elevate your first timer’s hard cider into a beverage worth sharing. Each batch offers an opportunity to refine your skills and create a cider that reflects your creativity.
Storing and Enjoying Your Homemade Cider
Proper storage and thoughtful serving techniques ensure your homemade cider retains its quality and delivers the best flavor. By following these guidelines, you can enjoy a crisp, refreshing drink every time.
Proper Storage Conditions
Storing your cider correctly preserves its taste and prevents spoilage. The right environment allows the flavors to mature, enhancing the overall drinking experience.
Ideal temperature and light conditions for storage
Temperature and light exposure significantly impact the quality of your cider. Store your bottles in a cool, dark place to maintain their freshness. Aim for a storage temperature between 50°F and 60°F. This range slows down chemical reactions that could alter the cider’s flavor. Avoid exposing bottles to direct sunlight or fluorescent lighting, as UV rays can degrade the cider and create unpleasant tastes.
Tip: A basement or a dedicated wine fridge works well for cider storage. These spaces provide consistent temperatures and protect the bottles from light.
How long to age cider for optimal flavor
Aging cider enhances its complexity and smoothness. Allow your cider to age for at least one to three months after bottling. This period lets the flavors meld and develop richer notes. For a more refined taste, consider aging it for up to six months or longer. However, avoid excessive aging, as cider can lose its freshness over time.
Did You Know? Traditional farm ciders stored in large barrels often spoiled due to increased air exposure. Modern bottling methods, combined with proper storage, prevent this issue and preserve the cider’s quality.
Serving Tips for Home-Brewed Cider
Serving your cider correctly elevates the drinking experience. Simple steps like chilling and pairing it with the right foods can make a significant difference.
Chilling and pouring cider
Serve your cider chilled to enhance its crispness and aroma. Refrigerate the bottles for a few hours before serving. Aim for a serving temperature of 45°F to 50°F, which balances the cider’s sweetness and acidity. When pouring, tilt the glass slightly and pour slowly to minimize foam. This technique preserves the carbonation and ensures a smooth pour.
Pro Tip: Use clear glasses to showcase the cider’s color and clarity. This adds a visual appeal to the drinking experience.
Pairing cider with food for the best experience
Pairing cider with complementary foods enhances its flavors. The versatility of cider makes it an excellent companion for various dishes:
- Dry ciders pair well with roasted meats, sharp cheeses, or savory pies.
- Sweet ciders complement desserts like apple tarts, caramel treats, or vanilla ice cream.
- Spiced ciders work beautifully with holiday dishes, including turkey, ham, or spiced nuts.
Food Pairing Insight: The natural acidity in cider cuts through rich or fatty foods, cleansing your palate and enhancing the meal’s flavors.
By storing your cider under ideal conditions and serving it thoughtfully, you can fully appreciate the effort you put into crafting it. These steps ensure every sip delivers the perfect balance of flavor, aroma, and refreshment.
Why Choose Stainless Steel Cider Fermenters from Chenma
Advantages of Stainless Steel Fermenters
Durability and ease of cleaning
Stainless steel fermenters stand out for their unmatched durability. Unlike plastic or glass, stainless steel resists scratches, dents, and cracks, ensuring a long lifespan even with frequent use. This material can handle the demands of home brewing without compromising its structural integrity. You can rely on it for batch after batch of cider.
Cleaning stainless steel fermenters is straightforward. The smooth, non-porous surface prevents residue buildup and makes sanitization quick and effective. You won’t have to worry about lingering odors or stains affecting your next batch. A simple rinse, wash, and sanitization process keeps your fermenter ready for use.
Pro Tip: Use a soft sponge and mild detergent to clean your stainless steel fermenter. Avoid abrasive tools to maintain its polished finish.
Maintaining consistent fermentation temperatures
Temperature control is crucial in cider fermentation, and stainless steel fermenters excel in this area. The material conducts heat efficiently, allowing you to maintain a stable fermentation temperature. This consistency helps the yeast work effectively, resulting in a balanced and flavorful cider.
Many stainless steel fermenters, including those from Chenma, come with advanced features like double-walled insulation or built-in cooling jackets. These features give you precise control over the fermentation environment. You can easily adjust the temperature to suit the yeast strain and desired flavor profile.
Did You Know? Maintaining a steady temperature between 59°F and 68°F enhances the fruity notes in cider while preventing off-flavors.
Chenma’s Expertise in Fermentation Equipment
Customizable stainless steel tanks for home brewing
Chenma specializes in creating stainless steel tanks tailored to your unique brewing needs. Whether you’re a beginner or an experienced brewer, you can find a fermenter that fits your requirements. Chenma offers customizable options, allowing you to choose the size, design, and additional features that suit your brewing style.
The company’s expertise extends beyond standard designs. Chenma engineers can modify existing products or create entirely custom tanks based on your specifications. This flexibility ensures that your fermenter aligns perfectly with your brewing goals.
Company Information:
- Chenma focuses on the alcohol, food, and beverage industries.
- Their stainless steel tanks are designed to meet diverse customer needs.
Certifications ensuring quality and safety
When you choose a Chenma fermenter, you’re investing in quality and safety. Chenma adheres to the latest industry standards, ensuring their products meet rigorous safety and performance criteria. The company holds certifications such as ISO9001-2005 for quality management, ISO14001-2015 for environmental management, and EU CE certification for product safety.
These certifications reflect Chenma’s commitment to delivering reliable and high-quality fermentation equipment. You can trust their fermenters to provide a safe and efficient brewing experience.
Key Certifications:
- ISO9001-2005: Quality management system certification.
- ISO14001-2015: Environmental management system certification.
- EU CE Certification: Ensures compliance with European safety standards.
By choosing Chenma’s stainless steel fermenters, you gain access to durable, easy-to-clean equipment that supports consistent fermentation. Their expertise in customization and adherence to quality standards make them a trusted partner for home brewers. With Chenma, you can elevate your cider-making journey and achieve exceptional results.
Using cider fermenters for home brewing transforms fresh apple juice into a flavorful and refreshing beverage. By mastering the basics—like selecting the right fermenter, managing fermentation, and bottling with care—you ensure a successful brewing experience. Experimenting with ingredients and techniques allows you to craft cider that reflects your unique taste. Sharing your homemade cider with friends and family adds a rewarding and personal touch to the process. Embrace the journey of cider-making, and enjoy the satisfaction of creating a drink that combines creativity, skill, and passion.
FAQ
How can I tell if my cider has stopped fermenting?
You can determine if fermentation has stopped by observing the activity in your fermenter. Look for signs like the absence of bubbles in the airlock or foam on the cider’s surface. To confirm, use a hydrometer to measure the specific gravity. If the reading remains consistent over several days, fermentation has likely finished. Andrew Lea, author of Craft Cider Making, advises maintaining a fermentation temperature between 59°F and 68°F (15°C to 20°C) to retain fruity flavors. Temperatures below 50°F (10°C) may cause yeast to stop working, while fermenting above 70°F (21°C) risks off-flavors like “pear drops.”
Pro Tip: Protect your fermenter from sudden temperature changes, as fluctuations can temporarily halt fermentation.
Can I add fruit to my hard cider?
Yes, you can add fruit to enhance the flavor of your cider. Popular choices include berries, pears, or cherries. Adding fruit during primary fermentation allows the yeast to ferment the natural sugars, creating a more integrated flavor. For a fresher fruit taste, add it during secondary fermentation. Always sanitize the fruit to avoid contamination. Experimenting with different fruits can help you craft unique cider blends that suit your taste.
Tip: Start with small quantities of fruit and adjust based on your preferences to avoid overpowering the cider’s apple base.
What should I do if my cider tastes too dry?
If your cider tastes too dry, it means the yeast has consumed most of the sugar. You can back-sweeten it after fermentation by adding sugar, honey, or apple juice. Dissolve the sweetener in a small amount of cider before mixing it into the batch. To prevent renewed fermentation, stabilize the cider with potassium sorbate and campden tablets. This step ensures the added sweetness remains intact.
Did You Know? Adding sugar during fermentation increases alcohol content but does not make the cider sweeter. Instead, it results in a drier and harsher taste.
How do I avoid contamination during cider-making?
Sanitization is the key to preventing contamination. Clean all equipment, including fermenters, airlocks, and siphons, with a food-grade sanitizer before use. Rinse thoroughly to remove any residue. Avoid touching sanitized surfaces with bare hands. During fermentation, ensure the airlock is securely attached and filled with sanitized water to keep contaminants out.
Expert Advice: Regularly inspect your equipment for scratches or cracks, as these can harbor bacteria and compromise your cider’s quality.
Can I increase the alcohol content of my cider?
You can increase the alcohol content by adding sugar or honey before fermentation. However, higher alcohol levels often result in a drier and less apple-forward cider. For a balanced flavor, avoid excessive sugar additions. A hydrometer can help you measure the potential alcohol level. Aim for a specific gravity of 1.050 to 1.060 for a cider with 5-6% alcohol by volume.
Reminder: More alcohol does not always mean better taste. Focus on achieving a harmonious balance between alcohol and flavor.
What is the ideal temperature for cider fermentation?
The ideal temperature range for cider fermentation is between 59°F and 68°F (15°C to 20°C). Cooler temperatures help retain fruity flavors, while higher temperatures may lead to undesirable tastes. Avoid fermenting above 70°F (21°C), as this can produce off-flavors like “pear drops.” Use a thermometer to monitor the temperature and keep it stable throughout the process.
Quick Tip: Place your fermenter in a cool, dark location to maintain a consistent temperature.
How long should I age my cider before drinking?
Aging cider enhances its flavor and smoothness. Allow your cider to age for at least one to three months after bottling. For a more refined taste, consider aging it for up to six months. Avoid excessive aging, as cider can lose its freshness over time. Store bottles in a cool, dark place to preserve their quality.
Did You Know? Aging allows the flavors to meld, creating a more complex and enjoyable cider.
Why does my cider have an off-flavor?
Off-flavors can result from contamination, improper yeast selection, or temperature issues. Common off-flavors include sulfuric notes, acidic tastes, or bitterness. To fix sulfuric smells, aerate the cider or let it age longer. Acidic flavors often indicate bacterial contamination, which highlights the importance of strict sanitization. Bitter or harsh flavors may stem from fermenting at high temperatures. Maintain a stable and cool environment to prevent these issues.
Solution: Aging your cider for a few weeks can help mellow minor off-flavors and improve the overall taste.
Can I carbonate my cider naturally?
Yes, you can carbonate your cider naturally by adding priming sugar before bottling. The remaining yeast ferments the sugar, producing carbon dioxide that creates carbonation. Use a priming sugar calculator to determine the correct amount based on your batch size. Dissolve the sugar in warm water before mixing it into the cider. Seal the bottles tightly and store them at room temperature for two weeks to allow carbonation to develop.
Safety Tip: Avoid over-priming, as excessive sugar can cause bottles to over-pressurize and burst.
What type of fermenter is best for cider-making?
The best fermenter depends on your needs and preferences. Plastic fermenters are lightweight and affordable, making them ideal for beginners. Glass fermenters offer excellent visibility but are fragile. Stainless steel fermenters provide durability, ease of cleaning, and precise temperature control. Chenma’s stainless steel fermenters stand out for their conical design, which simplifies yeast separation and ensures consistent fermentation.
Recommendation: For serious brewers, stainless steel fermenters offer the best combination of reliability and performance.