Imagine you walk outside one morning and spot a small leak under your stainless steel oil tank. That simple moment could mean expensive repairs. Routine care helps you avoid surprises like this. In fact, regular inspections can cut costs by 50% or more, making your steel oil tank last longer and saving you money.
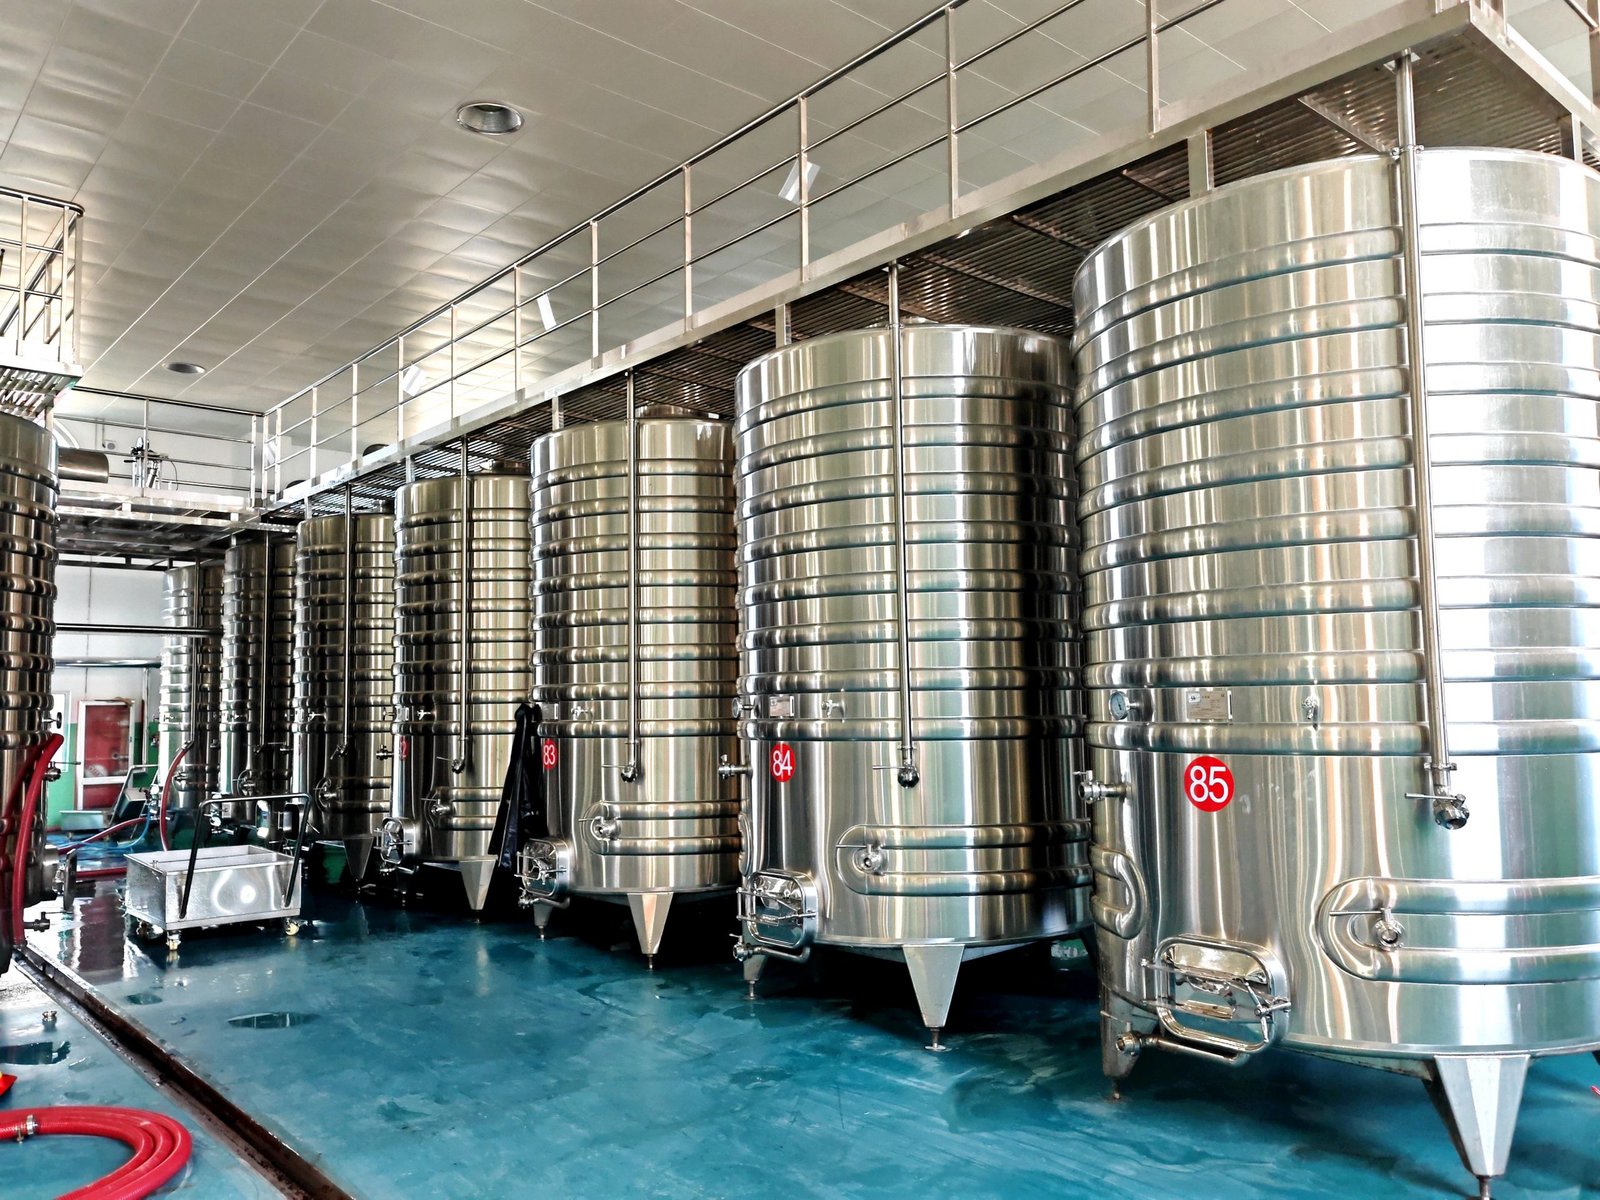
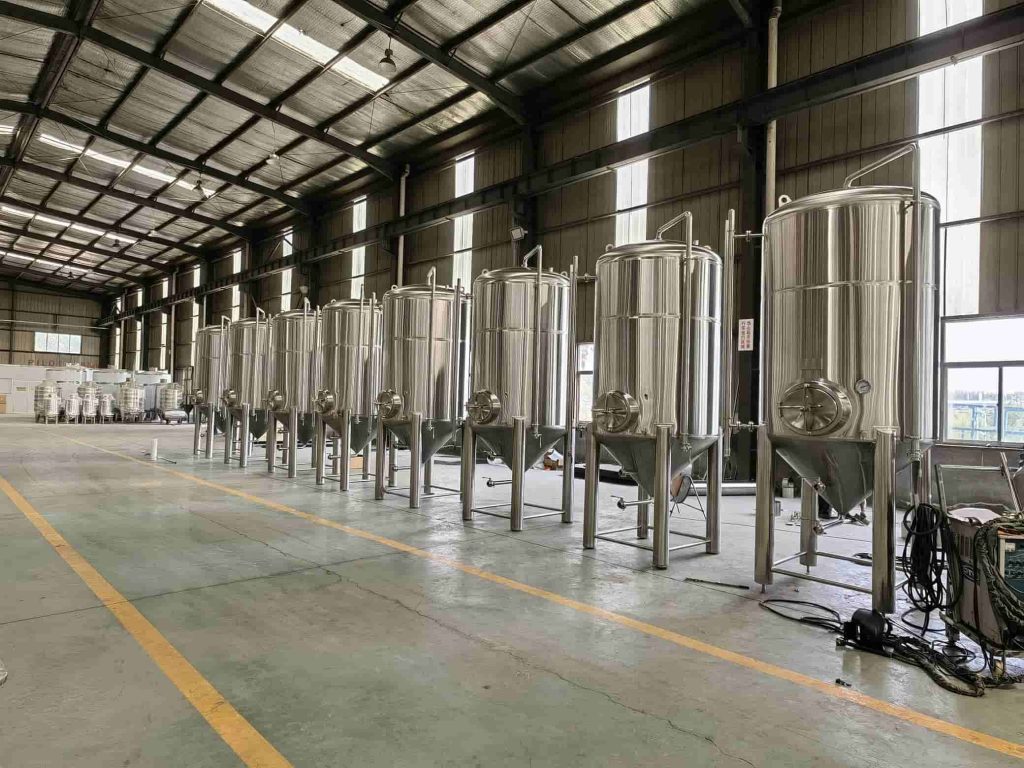
Chenma is one of the professional stainless steel wine tank manufacturers that can provide wineries with a variety of solutions. We also provide chemical mixing tank、cider tank, ect.
Steel Oil Tank Care
Regular Inspections
Taking good care of your steel oil tank starts with regular inspections. When you check your tank often, you spot problems before they get worse. Look for rust, dents, leaks, or any changes in the tank’s shape. These signs can mean trouble is starting. If you see oil stains on the ground or smell oil, act quickly. These are early warnings that your tank needs attention.
Tip: Use a flashlight to check hard-to-see spots, especially under and behind the tank.
Research shows that using special tools like acoustic emission technology helps find corrosion and weak spots, even on the bottom of the tank. This method lets you inspect the tank without emptying it, so you save time and money. You can catch rust and damage early, which keeps your steel oil tank strong and safe.
- Routine inspections help you find rust, leaks, and dents before they become big problems.
- Regular oil tank inspections prevent costly repairs and protect the environment.
- Steel tanks need more frequent checks because they can rust faster than other materials.
- Watch for rust, oil smells, stains, and water droplets on the tank.
- Check your tank every year, especially before winter, to keep it working well.
Professional servicing every 3 to 5 years is a smart move. Experts can spot hidden issues and fix them before they cause leaks or failures. Seasonal checks, especially before cold weather, help you avoid problems when you need your heating most.
Cleaning Tips
Keeping your steel oil tank clean is just as important as inspecting it. Over time, sludge builds up inside the tank. This sludge can block pipes and cause rust. Cleaning removes this sludge and helps your tank last longer.
Start by removing solid deposits with a scraper or brush. High-pressure water jets work well for stubborn sludge. After that, use a degreaser or a special cleaning solution to break down oil and dirt. Some people use chemical cleaners that dissolve tough grime. Others choose eco-friendly options like biosurfactants, which are made by helpful bacteria and break down oil safely.
- Scrape or brush away solid sludge from the tank’s walls and bottom.
- Use high-pressure water jets to wash out loose debris.
- Apply a degreaser or chemical cleaner to dissolve oil and sticky residue.
- Rinse the tank with soapy water and let it dry completely before refilling.
Studies show that using acid or alkaline cleaning solutions can stop rust from forming. These cleaners help create a protective layer on the steel, which keeps your tank in good shape. Cleaning your tank every few years, or when you notice sludge, is a key part of steel oil tank care.
Note: Always follow safety rules when cleaning your tank. If you are not sure how to do it, call a professional.
By making inspections and cleaning part of your routine, you give your steel oil tank the best chance to last for many years. Good care means fewer surprises and more peace of mind.
Heating Oil Tank Lifespan
Factors Affecting Longevity
You might wonder how long your heating oil tank will last. Most steel heating oil tanks have a lifespan of 15 to 20 years. This range depends on how well you care for your tank. If you check your heating oil tank every year, you can spot problems early. Annual inspections by certified experts help you find corrosion, leaks, and sediment before they get worse. Cleaning out sludge and using protective coatings also make a big difference. When you keep up with these tasks, you help your heating oil tank reach its full lifespan.
Regular maintenance is the secret to a longer heating oil tank lifespan. Skipping checks or cleaning can shorten the lifespan and lead to early replacement.
Here’s what helps your tank last:
- Annual expert inspections to catch corrosion and leaks
- Cleaning out sludge to keep oil quality high
- Using rust prevention coatings
- Watching for oil spots or strange smells
When to Replace
Even with great care, every heating oil tank reaches the end of its lifespan. You need to know the indications that your heating oil tank requires replacement. Look for these signs of wear:
- Rust patches or bubbling paint
- Wet spots or oil stains under the tank
- Strong oil odors near the tank
- Unusual noises when the tank is in use
- Visible dents or bulges
If your heating oil tank is 15 years old or more, start planning for replacement. Tanks at this age are at higher risk for leaks. Don’t wait for a major problem. Replacing your tank before it fails protects your home and the environment. Stay alert to these warning signs and act quickly when you see them.
Essential Care Practices
Keep Tank Half Full
You might think it’s okay to let your heating oil tank run low, especially during warmer months. But keeping your tank at least half full is one of the simplest ways to protect it. When you let the oil level drop, more air fills the empty space inside. This air contains moisture. As temperatures change, that moisture turns into condensation on the inside walls of your tank.
Condensation is a big problem for any heating oil tank. Water droplets form and settle at the bottom, mixing with the oil. Over time, this water causes rust and corrosion. Rust eats away at the steel, making your tank weaker and more likely to leak. Experts explain that water inside a heating oil tank is the main reason for internal corrosion. The risk gets even higher when the tank is almost empty, because there’s more room for moist air to collect.
Tip: Always try to refill your heating oil tank before it drops below half. This simple habit keeps the inside of your tank dry and helps prevent rust.
Industry advice also points out that tanks left near empty after winter are more likely to form condensation. This water not only causes rust but also creates sludge at the bottom of the tank. Sludge can block your fuel lines and make your heating system work harder. By keeping your tank half full, you lower the risk of both rust and sludge. This small step can add years to the life of your heating oil tank and save you from costly repairs.
Use Quality Oil
The type of oil you put in your heating oil tank matters more than you might think. High-quality oil keeps your tank cleaner and your heating system running smoothly. When you use low-grade oil, it often contains more sulfur and other impurities. These can settle at the bottom of your tank and turn into sludge. Sludge clogs your fuel lines and makes your system less efficient.
Studies show that using premium, low-sulfur heating oil with special additives helps prevent sludge and corrosion. Companies like Noonan Energy confirm that high-quality oil leads to cleaner tanks and better performance. Premium oils have fewer contaminants, so they don’t leave behind as much residue. This means less sludge builds up in your heating oil tank, and your system doesn’t have to work as hard.
Note: Ask your supplier about the quality of their oil. Choose a reputable company that offers low-sulfur, treated heating oil. This choice supports the long-term health of your tank.
Tasha Fuels & Propane also recommends using high-quality oil to keep your heating oil tank in top shape. Premium oils help your system run efficiently and last longer. They also suggest regular maintenance and keeping your tank full to get the best results.
Here’s a quick checklist to help you remember these essential care steps:
- Keep your heating oil tank at least half full, especially after winter.
- Choose high-quality, low-sulfur oil with additives to prevent sludge.
- Work with a trusted supplier for your oil deliveries.
- Schedule regular maintenance to check for sludge and rust.
By following these care practices, you protect your heating oil tank from rust, sludge, and early failure. Simple habits like these can make a big difference in how long your tank lasts and how well it works.
Rust Prevention
Anti-Corrosion Coatings
You want your steel oil tank to last as long as possible. One of the best ways to do this is by using anti-corrosion coatings. These coatings protect your tank from rust and damage. Epoxy coatings and carbon nanopolymers stick tightly to the steel. They can handle acids, alkalis, and even extreme temperatures. You often see these coatings on tank walls and bottoms, where water and impurities collect.
Many tanks use a system with several layers. First, a primer like epoxy zinc-rich paint goes on. This layer fights off rust. Next, a middle layer, such as micaceous iron epoxy, adds extra shielding. The final coat keeps the tank looking good and protects it from the weather. For the bottom of your tank, special paints like asphalt or epoxy coal tar keep out soil moisture and salts. These coatings work together to stop rust and extend your tank’s life.
Advanced coatings, like fusion bonded epoxy, create a tough barrier. They keep out moisture and chemicals, so your tank stays strong even in harsh conditions. When you use these coatings and check your tank regularly, you lower the risk of leaks and expensive repairs.
Tip: Ask your service provider about the type of coating on your tank and when it needs a touch-up.
Moisture Control
Moisture is one of the biggest enemies of steel oil tanks. When water gets inside or around your tank, it speeds up rust and corrosion. You can fight this by using several moisture control techniques.
- Install filters that catch water and rust before they cause problems.
- Check your tank often for water buildup, especially after heavy rain or snow.
- Use special fuels with moisture-control chemicals. These fuels trap water and make it easy to remove.
- Add corrosion inhibitors to your tank. These chemicals protect the metal from water damage.
- Make sure your tank sits on a dry, stable base to keep soil moisture away.
Studies show that keeping water out of your tank is the best way to stop corrosion. Even a small amount of water can cause rust to form quickly. Water also helps bacteria grow, which can make corrosion even worse. If you control moisture, you slow down rust and save money on repairs.
Keeping up with rust prevention means using coatings and controlling moisture. These steps help your steel oil tank last for many years.
Leak Detection
Signs of Leaks
You want to catch leaks early before they turn into big problems. Start by looking for oil stains or wet spots under your tank. Sometimes you might notice a strong oil smell around the tank. Listen for odd noises, like bubbling or hissing, when your system runs. These can all mean oil is escaping.
Keep an eye on your oil usage. If you notice you are using more oil than usual, a leak could be the reason. Check your oil filter for water or sludge. Water in the tank speeds up rust and can lead to leaks. You can use water detection paste on a stick to check for water at the bottom of your tank. Leak monitoring tools help you track changes and spot trouble fast.
Tip: Make leak checks part of your regular tank care routine. Early action saves money and keeps your home safe.
What to Do
If you think your tank is leaking, act right away. Here’s what experts recommend:
- Combine a close visual check with technical tests like ultrasonic thickness testing or digital acoustic profiling. These tests help you find leaks and check the tank’s strength.
- Review your tank’s history and past repairs. This helps you understand your risk.
- Use a certified operator for digital leak tests, such as the Mesa 2-D test. This test uses computer analysis to find even small leaks in tanks and pipes.
- If you confirm a leak, follow the right steps for repair or safe tank removal. Always document what you find and test the soil to make sure there is no leftover oil.
- Test for water in your tank. Use additives or other methods to remove water and keep your oil filter clean.
- Follow industry standards, like the ASTM Risk-Based Corrective Action guide. This approach helps you choose the best fix for your situation.
Taking these steps protects your property and the environment. Quick action and the right tests keep your heating oil system safe and reliable.
Outdoor Tank Protection
Weatherproof Covers
Outdoor steel oil tanks face harsh weather every day. Rain, snow, and sun can all damage your tank over time. You can protect your tank by using weatherproof covers and coatings. These covers keep out moisture and stop rust from forming. Here’s how experts prepare and protect tanks:
1. Workers sandblast the tank’s surface to help coatings stick better. 2. They add a urethane elastomer barrier at the base to block water from getting in. 3. The tank shell gets a zinc-rich primer to fight off rust. 4. A thermal insulating topcoat goes on top, keeping the tank cool and stopping corrosion. 5. Nozzles get special epoxy and polyurethane coatings to keep them strong and looking good.
Tank owners who use these steps say their tanks look great and last longer. Weatherproof covers and coatings help you avoid costly repairs and keep your heating oil storage solutions safe.
Tip: Check your tank’s cover every year. If you see cracks or peeling, it’s time for a touch-up.
Elevation and Placement
Where you put your tank matters just as much as how you cover it. Tanks that sit right on the ground or are buried without the right design rust much faster. Rainwater can soak the soil around your tank, speeding up rust and leaks. Tanks made for indoors will not last long outside.
You can make your tank last longer by following these tips:
- Place your tank on a solid, level surface, like concrete or asphalt.
- Keep it off the ground to stop water from touching the steel.
- Make sure the tank is secure so it cannot tip over.
- Avoid placing it under roof edges where rainwater can pour down.
Tanks that sit on concrete or asphalt stay dry and strong. Proper elevation and placement keep your tank safe from weather and damage.
Professional Help
When to Call
Sometimes, you need more than just a quick look at your steel oil tank. You should call a professional when you see rust, dents, or leaks, or if your tank is over 10 years old. Experts recommend regular inspections to catch problems early and avoid sudden replacement. Here’s a handy table to help you know when to schedule professional servicing:
| Tank Age/Status | Inspection Interval |
|---|---|
| Less than 10 years | Every 5 years |
| 10 years or older | Every 3 years |
| Out-of-service tanks | Before using again |
| New tanks | Before first use |
You should also call a professional if you notice oil smells, stains, or if your tank sits outside in harsh weather. Schedule inspections in late summer or early fall. This timing helps you fix issues before winter. Professionals can test for water, clean out sludge, and apply anti-corrosion coatings. These steps help you avoid an emergency replacement and keep your tank safe.
Choosing a Service
Picking the right service provider makes a big difference. Look for companies that use advanced inspection methods, like internal video checks and ultrasonic testing. Make sure the inspectors have the right qualifications and follow safety codes. Good providers keep records of every inspection and test. They also check for things like tank deflection and bottom flattening.
Here’s what to look for when choosing a service:
- Qualified inspectors with experience
- Compliance with local and federal rules
- Regular risk assessments and clear recommendations
- Detailed documentation of all work
A reliable company will help you plan for maintenance or replacement before problems get worse. They will also help you keep your tank in top shape for years.
Warning Signs
Visual Clues
You can spot many problems with your steel oil tank just by looking closely. Rust patches, bubbling paint, or oil stains under the tank are big red flags. Sometimes, you might see water droplets or wet spots on the tank’s surface. These signs often mean your tank is starting to fail.
A large study looked at 500 underground steel tanks over 18 months. The results showed that 40% of the tanks tested had leaks. Most leaks came from piping, but 18% started in the tank itself. The study also found that tanks in cities failed more often than those in rural areas. Urban tanks had a 50% failure rate, while rural tanks had only 25%. Visual checks helped people find obvious leaks or defects, especially at the bottom of the tank.
| Statistic/Observation | Details |
|---|---|
| Leak rate in tested tanks | 40% of systems tested leaked |
| Urban failure rate | 50% |
| Rural failure rate | 25% |
| Visual inspection role | Finds leaks or defects at tank bottom |
Tip: Always check the bottom of your tank. Leaks often start there.
Smells and Noises
Your nose and ears can help you catch problems early. If you smell oil near your tank, don’t ignore it. That strong odor means oil might be leaking. Sometimes, you might hear bubbling, hissing, or gurgling sounds when your heating system runs. These noises can signal a leak or trapped air in the lines.
If you notice any of these warning signs, act fast. Quick action can save you money and keep your home safe.
System Checks
Inspect Lines and Fittings
You might think your steel oil tank is the only part that needs attention, but the lines and fittings matter just as much. If you skip checking these parts, you could miss early signs of trouble. When you inspect the lines and fittings, you can spot corrosion, cracks, or even small leaks before they turn into big problems. Pay close attention to weld joints and expansion joints. These spots often show the first signs of wear.
Look at the paint or coating on the pipes. If you see peeling or rust, that means the coating is failing and corrosion could spread. Check the sacrificial anodes, too. These small metal pieces protect your tank from rust. If they look worn out, it’s time to replace them. Don’t forget to test safety devices. These tools warn you if water gets inside or if there’s a sudden pressure change.
Tip: Write down what you find during each inspection. Keeping good records helps you plan repairs and avoid big breakdowns.
Annual Maintenance
You should schedule a full system check every year. This routine keeps your heating oil tank running safely and smoothly. During annual maintenance, a professional will remove any sludge or mud that has built up. This step uncovers hidden problems and stops the tank from wearing out too soon.
The technician will also check valves, heating coils, and other equipment for leaks or faults. If they find any issues, they can fix them right away. Annual maintenance gives you peace of mind and helps your tank last longer. Regular care now means fewer surprises later.
Prolonging Heating Oil Tank Life
Routine Care
If you want your heating oil tank to reach its full lifespan, you need to make routine care a habit. Start with regular inspections. Look for rust, dents, or any signs of leaks. Clean out sludge every few years to keep the inside clear. Always keep your tank at least half full, especially after winter. This simple step helps prevent condensation and rust. Use high-quality oil to reduce sludge and keep your system running smoothly. Schedule annual checkups with a professional. They can spot hidden problems and help you fix them before they get worse.
Staying on top of these essential care practices to prolong the life of your heating oil tank means fewer surprises and more years of safe, reliable service.
Avoiding Common Mistakes
Many people make mistakes that shorten the lifespan of their heating oil tank. Some skip inspections or ignore small leaks, thinking, “If it isn’t broken, don’t fix it.” Others use indoor tanks outside or bury tanks not designed for underground use. These choices lead to faster rust and early failure. Sometimes, people hire companies without proper training or paperwork. This can result in poor service and missed problems. Forgetting to follow rules during tank removal, like skipping soil tests, can leave you with hidden leaks and big repair bills.
- Not checking for rust or leaks regularly
- Using the wrong type of tank for your location
- Letting the tank sit empty for long periods
- Hiring unqualified companies for installation or removal
- Ignoring written reports or skipping soil sampling
If you avoid these mistakes and focus on good care, you can extend the lifespan of your heating oil tank and save money in the long run.
You can keep your steel oil tank safe and save money with a few simple steps. Check your tank often, keep it at least half full, and schedule professional inspections. The table below shows how regular checks, following API 653 standards, help you avoid leaks and costly repairs:
| Assessment Stage | Data Accuracy | Inspection Detail | Purpose |
|---|---|---|---|
| Stage 1 | Anecdotal history, design dimensions, nominal condition | Records or nominal condition | Initial evaluation to spot issues early |
| Stage 2 | Plant records, operational dimensions, inspection data | Inspection | Confirm condition and plan maintenance |
| Stage 3 | Reviewed plant records, measured dimensions, detailed inspection | Detailed inspection | Decide on repairs or replacement |
Stay proactive! Make these habits part of your routine. You will enjoy peace of mind, better safety, and long-term savings.
FAQ
How often should you inspect your steel oil tank?
You should check your tank at least once a year. If your tank is outside or over 10 years old, inspect it every six months for rust or leaks.
What is the best way to prevent rust inside your tank?
Keep your tank at least half full. Use high-quality oil. Ask a professional to apply anti-corrosion coatings. These steps help stop rust before it starts.
Can you clean your steel oil tank yourself?
You can remove small amounts of sludge with a brush or scraper. For deep cleaning, always call a professional. They have the right tools and know how to do it safely.